If you want to save something important on your Mac or iPhone, “notes” is one of the excellent options. It is very easy to create notes and sync it with your iCloud account. You can later access this notes anywhere with any iOS device having access to that iCloud account. But what about the security? Is it possible to lock notes with passwords in MacBook? Or using touch ID on iPhone or iPad?
This article deals with how you can create notes on your Mac as well as iPhone. Also shows how to lock these notes with password and Touch ID.
How to Create Notes with password on MacBook?
Creating notes in MacBook is a very simple procedure. Just follow the steps to create notes on your Mac.
Step 1:- Open Notes app on your MacBook. You don’t need to install any craps from the app store. Notes is a default app for all iOS version and it will be there on your Mac.
Step 2:- Click File –> New Note to create a new note. Otherwise use the shortcut button on note app itself.
Step 3:- Then type the contents you want in your note file.
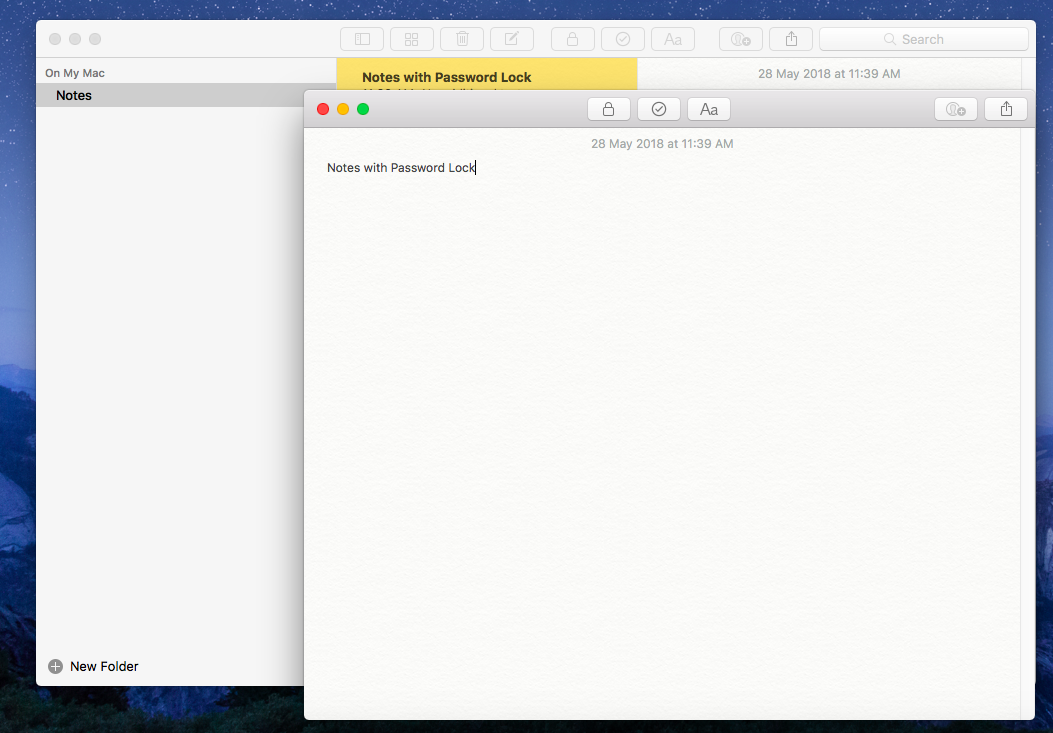
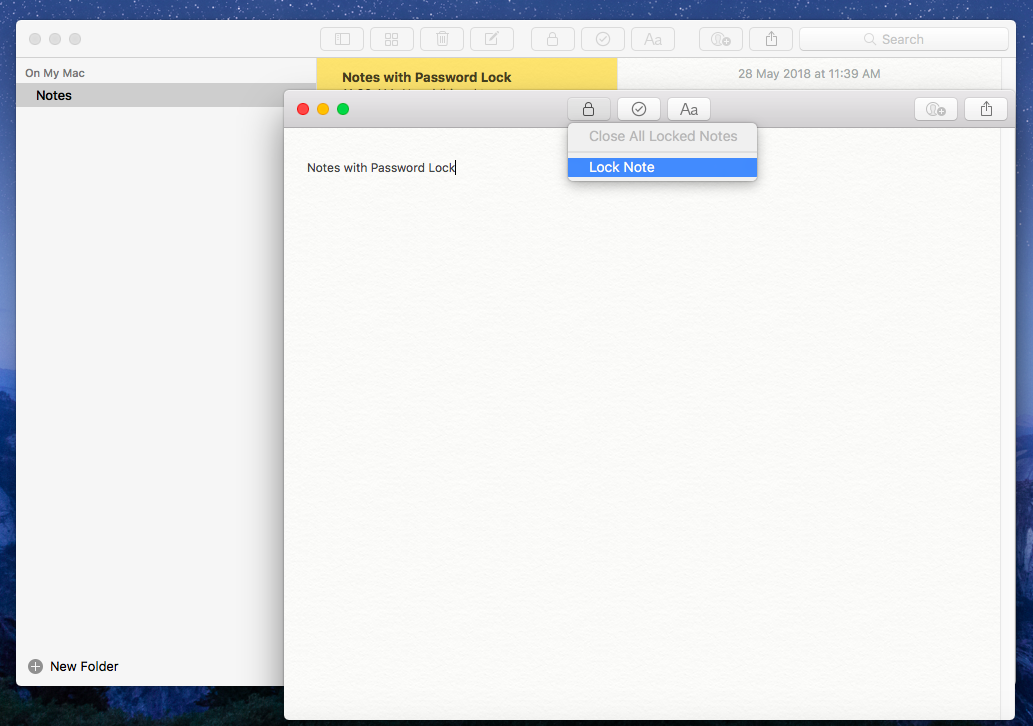
Step 4:- After finishing the contents, click on the “Lock pad” icon on the top.
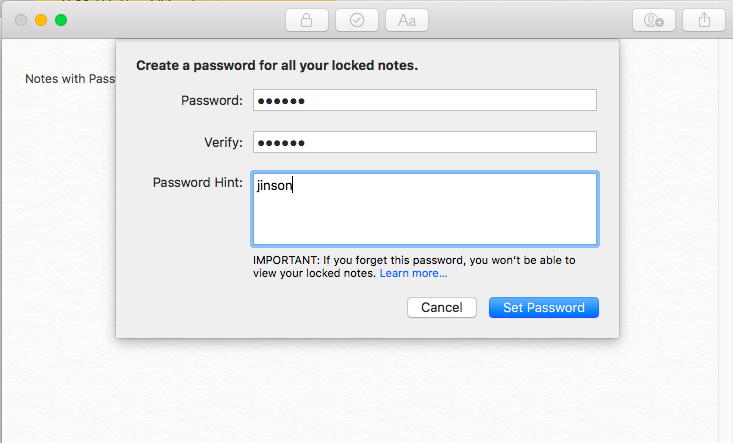
Step 5:- Now you will see the option to type the password with which you want to lock the notes. Just enter the details and give a password Hind. Click on Set Password to finish.
Step 6:- The notes are not closed now. You need to close the password locked note to achieve the full benefit.
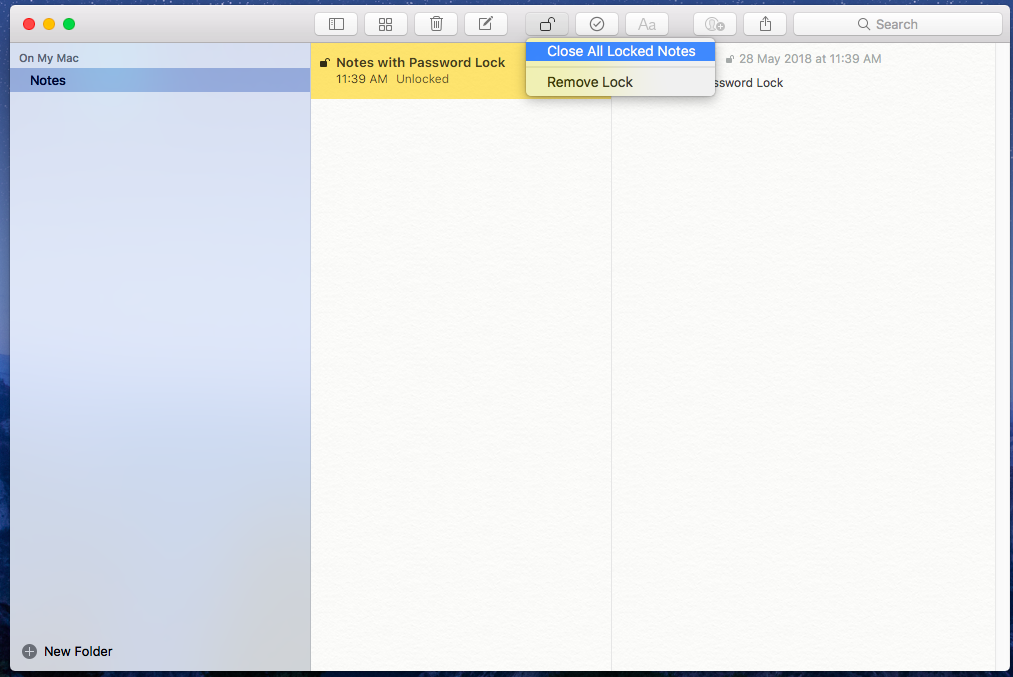
Step 7:- Now try to open the locked notes. You will ask to enter the password which you had given earlier. Otherwise, it will not open up.
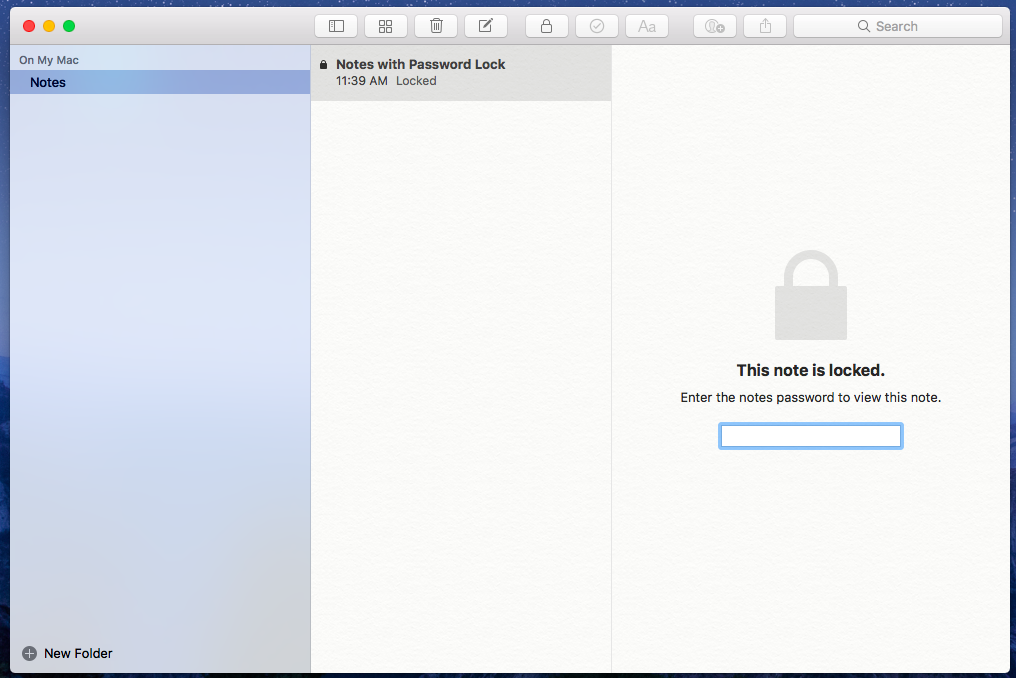
If you are not seeing any option to Lock the notes, your OS version may be outdated. To create Notes with password, you need OS X 10.11.4. Earlier versions of OS X do not support this feature.
How to Create Notes with password on iPhone and iPad?
Now let’s look at how to create notes with a password on your iPhone. This is also simple as we done for MacBook.
Step 1:- Open notes application and create a new or open existing note file.
Step 2:- Now click on the Share button in the top right corner. It will provide the option to send the note as well as other features.
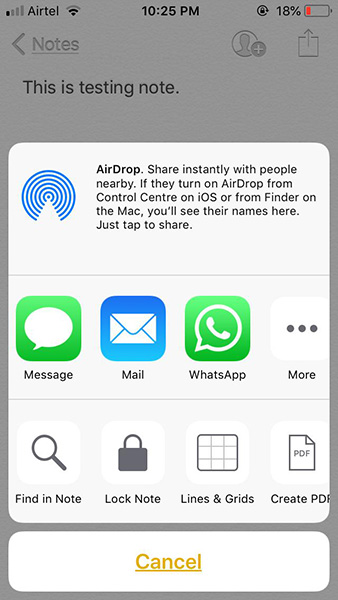
Step 3:- Click on the Lock Note option.
Step 4:- Now you will see the option to set a password for your Note files. Just set a password and a password hind if necessary.

Step 4:- Now Tap on the Lock icon again to make it closed forever. Come to the home page of notes and you will see the notes are locked with a padlock icon.
Step 5:- Click on the locked note and it will show that The note is locked.
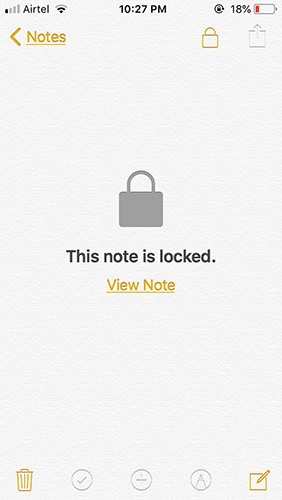
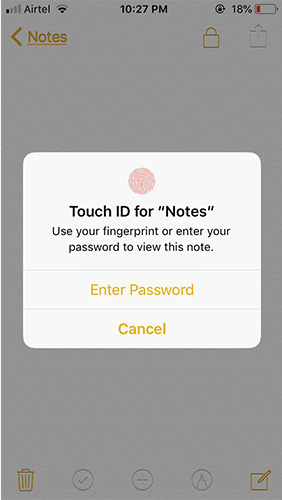
Step 6:- Now click on “View Note” to open the note with Password or the touch ID.
This is how you can lock your notes on both iPad and iPhone. If you have any queries regarding locking notes with password, please comment it below. We will reply you within 24 hours.